Part 3 of 8 in Traffic Signs, Signals & Directions
Warning signs
Warning signs are triangular with a red border and warn of danger ahead. What you must do, how far away the danger is and the exam traps.


Written by Chris Prosman Reviewed by Dirk van Zuijlen
Updated Reviewed on 7 min read
Every CBR sign · start for free
A warning sign is a triangular sign with a red border and its point upwards. It is there when you would otherwise not see a danger ahead, or not in time: a sharp bend, a speed bump, children crossing. The sign itself does not prescribe a speed. You adapt your speed and your attention to what is coming.
What must you do at a warning sign?
A triangular traffic sign with a red border and its point upwards is a warning sign. It says: further on there is a danger you may not see yet. You adapt your driving where that is needed.
The sign does not set or forbid a particular speed. But article 19 of the RVV 1990 always applies: you must be able to stop within the distance you can see and that is clear.
So: ease off before a sharp bend 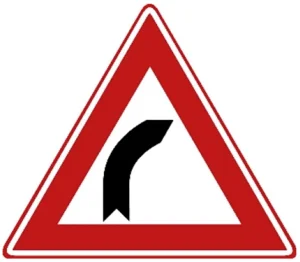 or a speed bump
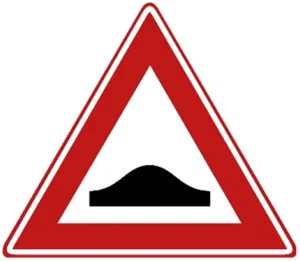 . Look around extra carefully when children may cross
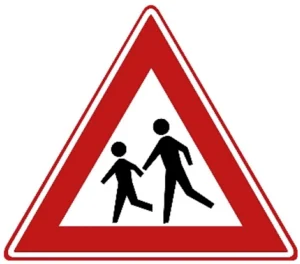 . You do not have to brake automatically at every sign.
The St Andrew's crosses 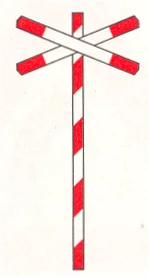
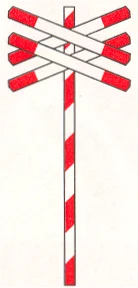 at a level crossing are an exception: they are not triangular. And a triangle with its point downwards
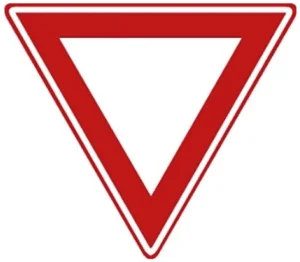 is not a warning sign. That is sign B6: give way. See priority junctions.
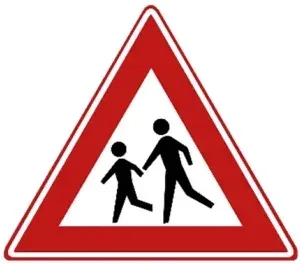
Sub-signs with warning signs
A sub-sign below a warning sign tells you more about the danger:
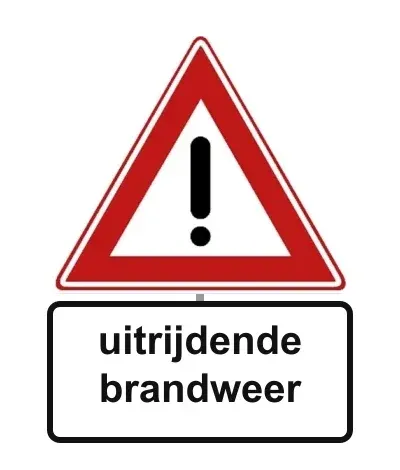 What kind of danger: sign J37 (an exclamation mark) only says there is danger. Which danger is on the sub-sign, in text or as a symbol.
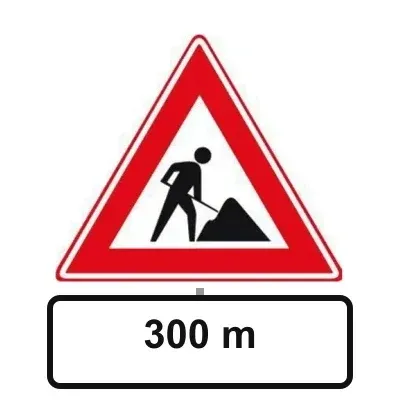 How far: a distance without arrows, such as "300 m", means the danger only starts after that distance.
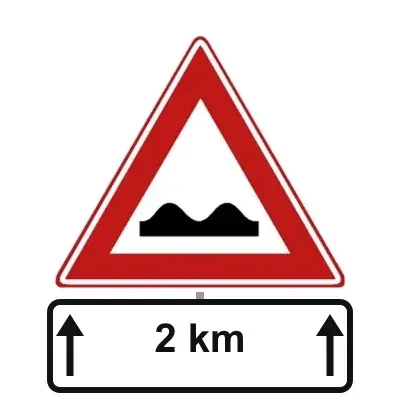 How long: a length with arrows means the danger continues from the sign over that length, for example a stretch of poor road surface.
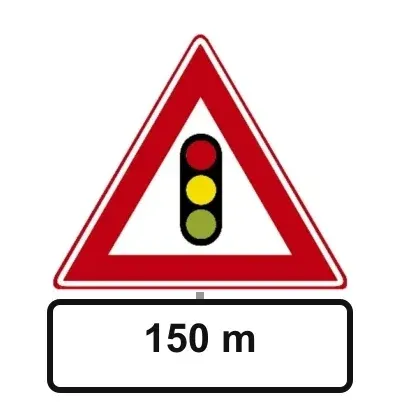 Traffic lights (J32): outside built-up areas the distance to the traffic lights is shown on a sub-sign.
More about distances, arrows and exceptions under sub-signs.
Overview of warning signs
These are warning signs you see a lot, by type of danger.
The road itself
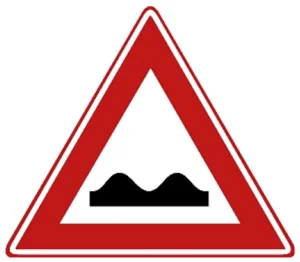 Sign J1 (poor road surface): a stretch of road with potholes, cracks or bumps.
- Signs J2 and J3 (bend to the right / left): a sharp bend ahead. Ease off in time.
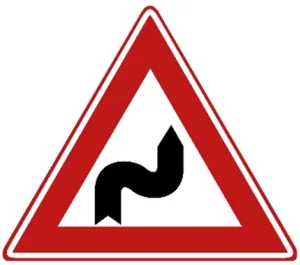 Sign J4 (double bend, first to the right): two bends in a row; the first goes to the right.
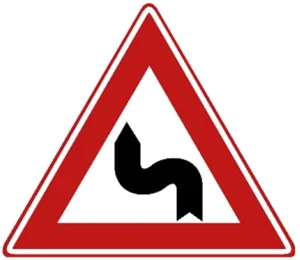 Sign J5 (double bend, first to the left): the mirror image of J4: the first bend goes to the left.
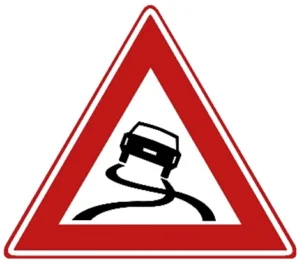 Sign J20 (slippery road): risk of skidding, for example on a slippery or wet surface.
- Sign J38 (speed bump): a raised section across the road.
Other road users
- Sign J21 (children): children may cross, for example near a school or playground.
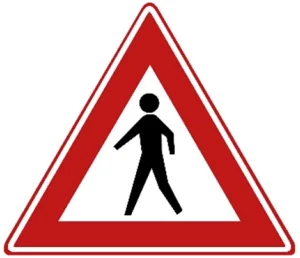 Sign J23 (pedestrians): pedestrians on or right next to the carriageway.
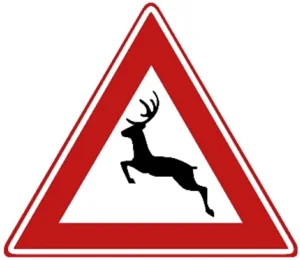 Sign J27 (wild animals): deer or wild boar may walk onto the road.
Traffic and conditions
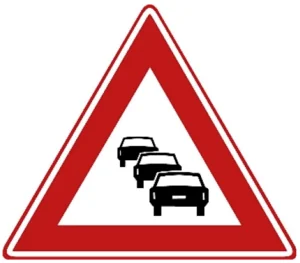 Sign J33 (traffic jam): stationary or slow-moving traffic ahead.
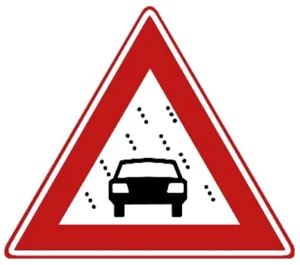 Sign J35 (poor visibility): visibility reduced by snow, rain or fog.
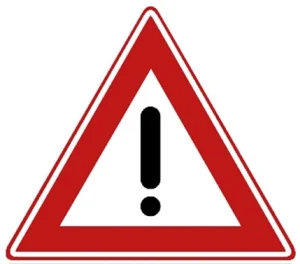 Sign J37 (danger): another danger; what it is, is shown on the sub-sign.
All warning signs in one list
Here are all warning signs, with what you do at each one. J12 and J13 are St Andrew's crosses at a railway, not red triangles.
| Sign | Meaning and your response |
|---|---|
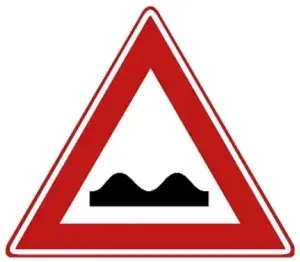 | J1: Poor road surface Ease off; avoid potholes only if safe. |
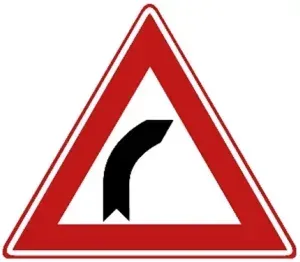 | J2: Bend to the right Adjust speed before the right-hand bend. |
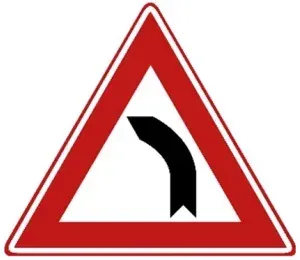 | J3: Bend to the left Adjust speed before the left-hand bend. |
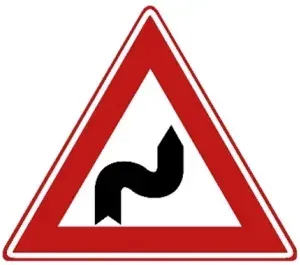 | J4: S-bend(s), first to the right The first bend is right, then left. Slow before the bends. |
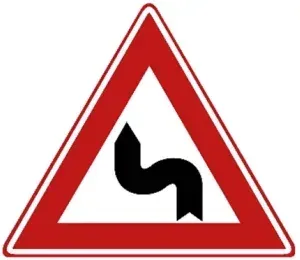 | J5: S-bend(s), first to the left The first bend is left, then right. |
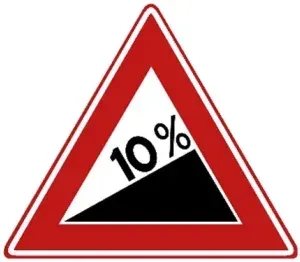 | J6: Steep hill Select a suitable gear in time; watch for rollback. |
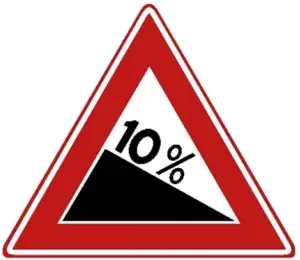 | J7: Dangerous descent Use a suitable lower gear; avoid overheating the brakes. |
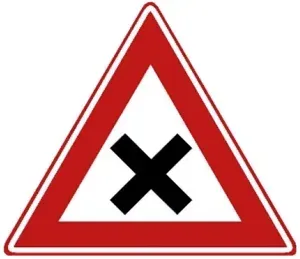 | J8: Dangerous junction Check priority signs and the junction; this sign does not grant priority. |
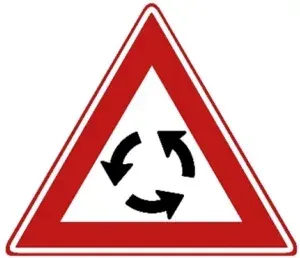 | J9: Roundabout Approach slowly; signs and shark teeth determine priority. |
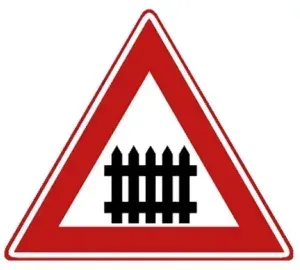 | J10: Level crossing with barriers Stop for red lights or closing barriers; enter only if the entire crossing is clear. |
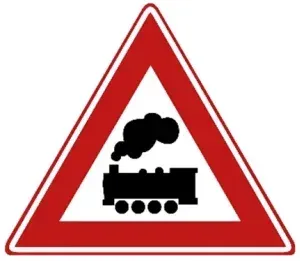 | J11: Level crossing without barriers Look and listen carefully; trains can come despite the absence of barriers. |
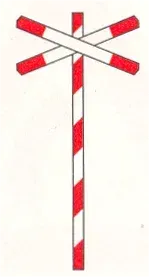 | J12: Level crossing with a single track One St Andrew’s cross marks a single-track crossing. |
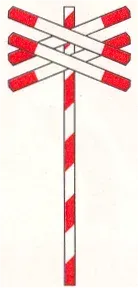 | J13: Level crossing with two or more tracks A double cross means two or more tracks; expect another train. |
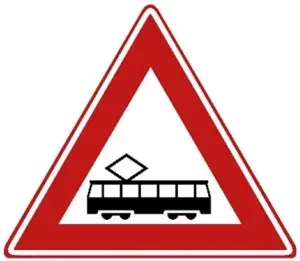 | J14: Tram (crossing) Check for a tram and assess priority separately. |
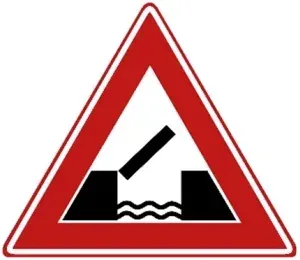 | J15: Movable bridge Expect queues, red lights and an open bridge. |
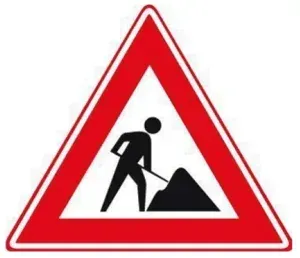 | J16: Roadworks Adjust speed and spacing; follow temporary instructions and markings. |
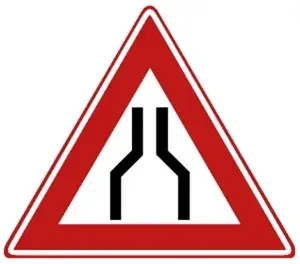 | J17: Road narrows The carriageway narrows on both sides; assess who needs room. |
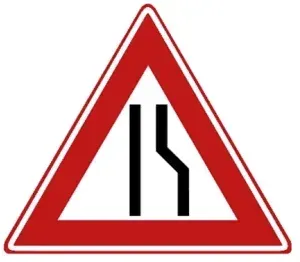 | J18: Road narrows on the right The narrowing is on the right; check oncoming traffic early. |
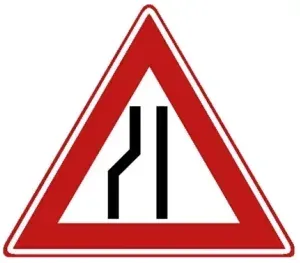 | J19: Road narrows on the left The narrowing is on the left; expect traffic moving around it. |
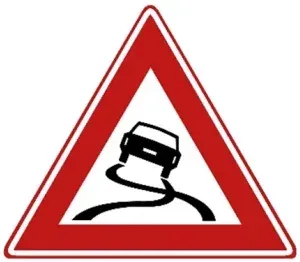 | J20: Risk of skidding Slow down; steer, brake and accelerate smoothly. |
| J21: Children Expect children crossing unexpectedly; be ready to brake. |
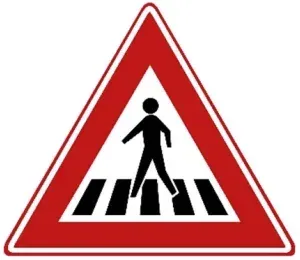 | J22: Pedestrian crossing A zebra crossing is ahead; check for pedestrians crossing or clearly intending to. |
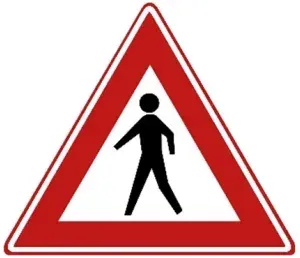 | J23: Pedestrians Pedestrians may walk on or beside the carriageway; give them room. |
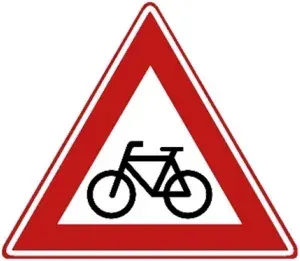 | J24: Cyclists and moped riders Watch for cyclists and moped riders crossing the road. |
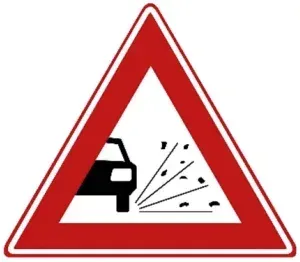 | J25: Loose chippings Ease off and leave room to reduce stone damage and skidding. |
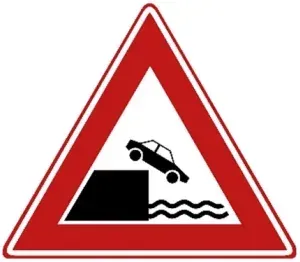 | J26: Quay or riverbank Stay away from the edge; water may be immediately beyond it. |
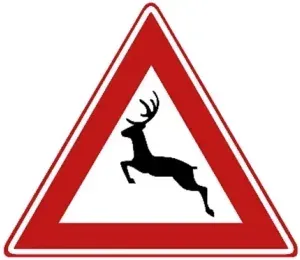 | J27: Large wild animals Watch verges and woodland edges; animals may cross unexpectedly. |
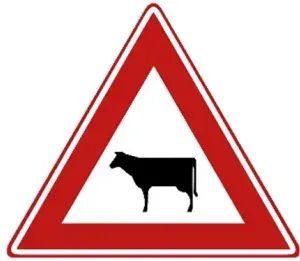 | J28: Cattle Expect livestock on the road; give people and animals room. |
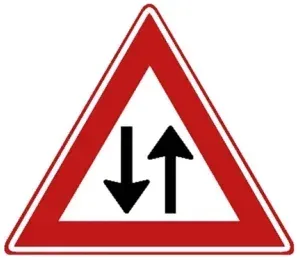 | J29: Oncoming traffic Expect oncoming traffic on the same carriageway ahead. |
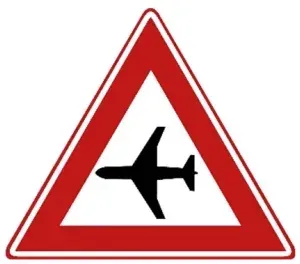 | J30: Low-flying aircraft Stay focused despite low-flying aircraft and sudden noise. |
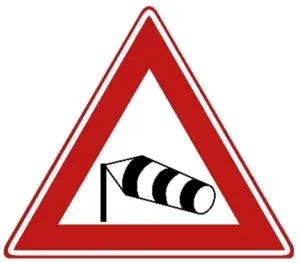 | J31: Crosswind Hold the wheel firmly and expect gusts, especially on exposed stretches. |
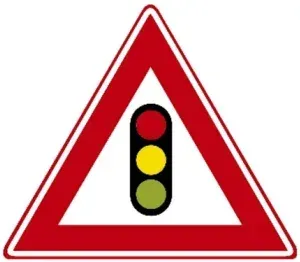 | J32: Traffic lights Expect traffic lights and vehicles braking for them. |
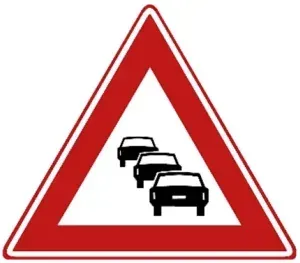 | J33: Traffic jam Ease off early, increase spacing and look far ahead. |
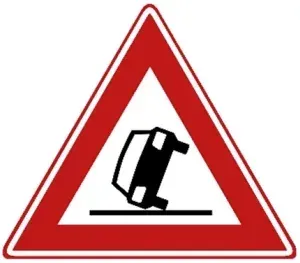 | J34: Accident Reduce speed and give emergency services and those involved room. |
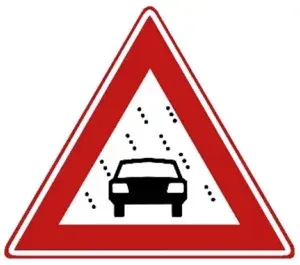 | J35: Poor visibility Match speed and spacing to the distance you can actually see. |
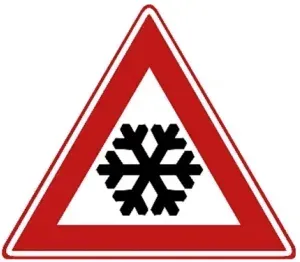 | J36: Black ice or snow Leave extra room; avoid sudden steering or braking. |
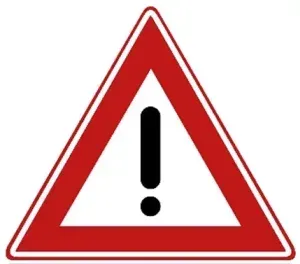 | J37: Danger, see supplementary panel Read the supplementary plate to identify the hazard. |
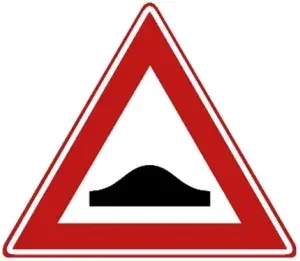 | J38: Speed bump Slow before the hump. A hump alone does not set a legal speed limit. |
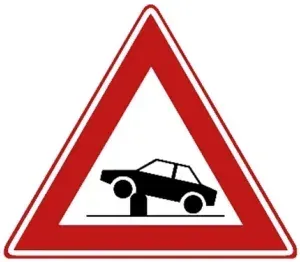 | J39: Retractable bollard Watch the retractable bollard and follow the access signal. |
How far before the danger is a warning sign?
There is no fixed distance. The road authority places the sign where the danger would otherwise not be visible, or not in time, so that you can still react calmly. How far that is depends on the road, the speed driven there and how well you can see the danger coming yourself. So the danger can come right after the sign, or quite a bit further on.
If the distance matters, it is shown on a sub-sign. If there is no sub-sign, expect the danger from the sign onwards.
Warning signs the CBR often asks about
With these signs you need to think further than "watch out" in the exam: a rule goes with them.
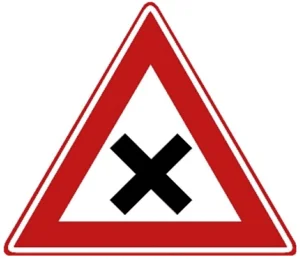 Sign J8 (dangerous junction): the sign says nothing about priority. If you see no priority signs or give-way markings at the junction, it is an equal junction: see equal junctions.
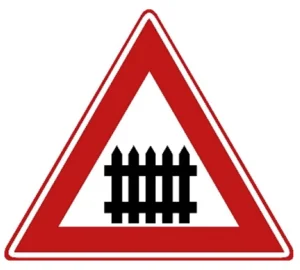 Signs J10 and J11 (level crossing with / without barriers): a railway crosses the road ahead. What to do at the crossing is explained under level crossings.
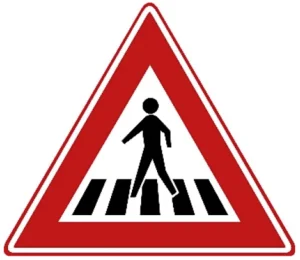 Sign J22 (pedestrian crossing): a zebra crossing is coming. Let people who are crossing there, or clearly want to, go first.
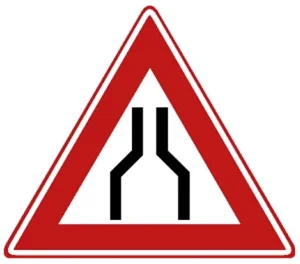 Sign J17 (road narrows): the road gets narrower. The sign does not say who goes first; signs F5 and F6 decide that.
CBR traps with warning signs
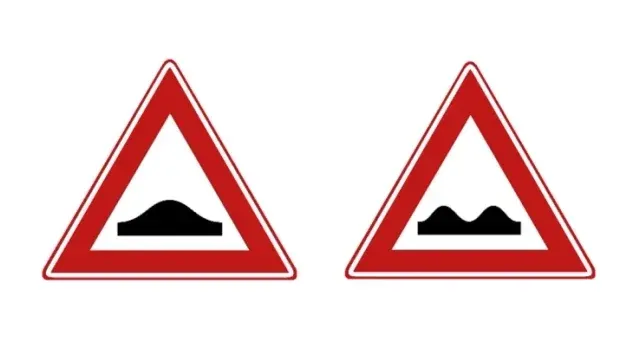
❌ Wrong: mixing up the speed bump (J38) and poor road surface (J1). ✅ Right: J38 is one bump across the road. J1 is a longer stretch of road with potholes or bumps.
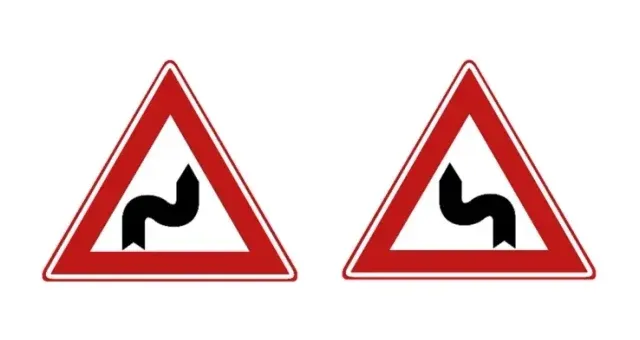
❌ Wrong: swapping J4 and J5. ✅ Right: look where the road bends first, starting from the bottom of the sign. J4: first to the right. J5: first to the left.
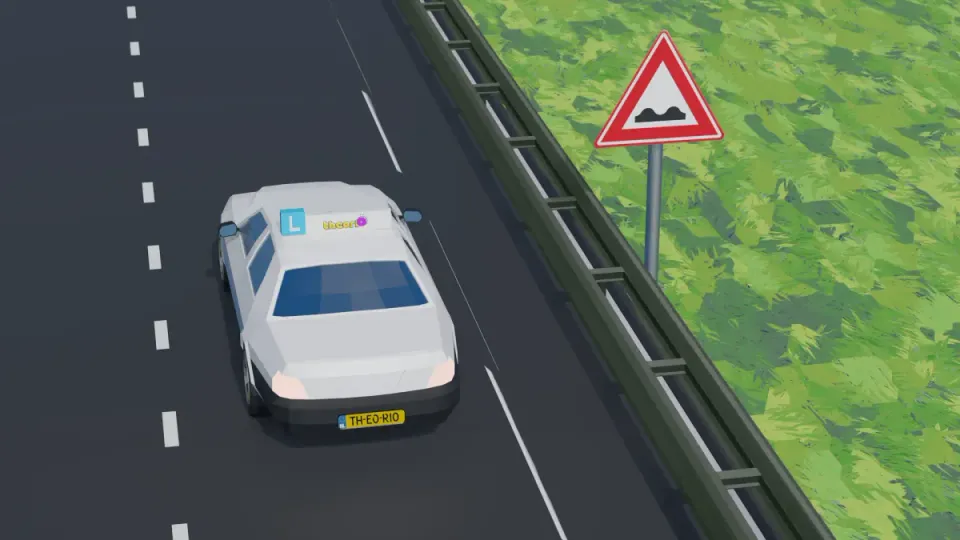
❌ Wrong: thinking a warning sign sets a speed limit. ✅ Right: the sign only warns. You adapt your speed so you can stop in time.
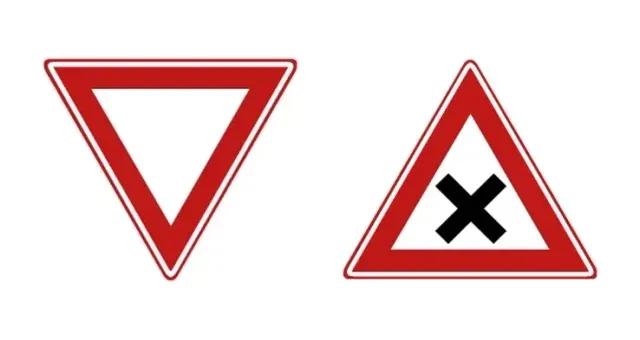
❌ Wrong: reading a triangle with its point downwards as a warning sign. ✅ Right: that is sign B6: give way.
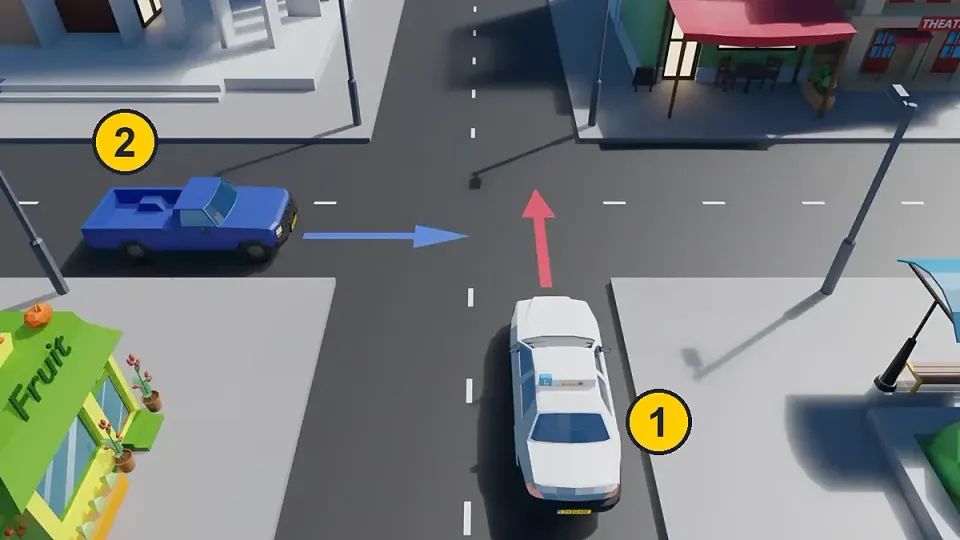
❌ Wrong: thinking at sign J8 that you have priority, or must give way. ✅ Right: J8 does not set priority. Look for priority signs and shark teeth. If there are none, traffic from the right goes first.
❌ Wrong: reading sign J37 without its sub-sign. ✅ Right: the exclamation mark only says "danger". The sub-sign says which danger.
Practise like the exam
Example questions like in the CBR exam
Real questions from the Theorio app. You can expect similar questions in your CBR exam.
Question 1 of 6
A speed bump is installed in areas such as residential neighborhoods to reduce speed. You are allowed to drive over it at a maximum of 30 km/h.
Which sign can you expect a speed bump?
Tap the answer you think is right.
Does this sign warn of a bump?
Tap the answer you think is right.
Does this traffic sign warn of crossing livestock?
Tap the answer you think is right.
What does this sign warn about?
Tap the answer you think is right.
Which sign indicates a decline?
Tap the answer you think is right.
Which sign can you expect a turn to the right?
Tap the answer you think is right.
Answers and explanations for the example questions
Question 1: Which sign can you expect a speed bump?
Correct answer: Sign A
Sign A warns of a speed bump. You recognize this by one bump on the sign, indicating that you go up and down once. Sign B warns of a bad road surface. This sign has two bumps, meaning you go up and down multiple times due to the poor condition of the road.
Question 2: Does this sign warn of a bump?
Correct answer: No
Common mistake: this sign warns of a retractable electric post in the carriageway. It is not a bump.
Question 3: Does this traffic sign warn of crossing livestock?
Correct answer: No
Trick question!, This sign warns of large game (deer, wild boar, etc.), not for crossing livestock (cows, sheep, pigs, etc.). Be alert, especially at dusk. 🦌
Question 4: What does this sign warn about?
Correct answer: Loose stones
This sign warns of loose stones on the road. These stones can be dangerous because they can cause damage to vehicles or windows.
Question 5: Which sign indicates a decline?
Correct answer: Sign A
Sign A 📉 indicates a decline: the road goes down, from top left to bottom right, similar to a descending graph. Sign B 📈 indicates an incline: the road goes up, from bottom left to top right, similar to an ascending graph.
Question 6: Which sign can you expect a turn to the right?
Correct answer: Both signs
Sign A: sharp turn right. Sign B: first left, then right. Both signs indicate a turn to the right. 🏎️
FAQ
Frequently asked questions
Short answers to questions that often come up on this subject.
Is a triangle with its point downwards a warning sign?
No. The inverted triangle is B6: give way to drivers on the crossing road. Ordinary triangular warning signs point upwards; the St Andrew’s crosses J12/J13 are exceptions to that triangular shape.
Do you always have to slow down at a warning sign?
Not automatically. The sign gives no speed, but you must always be able to stop within the distance you can see (article 19 RVV). So adapt your speed where the danger calls for it.
How far before the danger is a warning sign placed?
There is no fixed distance. It depends on the road, the speed and the visibility. If the distance matters, it is shown on a sub-sign, for example 300 m.
What is the difference between sign J4 and sign J5?
Both warn of a double bend. With J4 the first bend goes to the right, with J5 to the left.
Ready to practise?
Test your knowledge of Traffic Signs, Signals & Directions with 90 practice questions in the app.
Every CBR sign · start for free
Your first quiz is free, no account needed. After that from €34.99 for 90 days of access.