Difficult Dutch traffic signs and their meaning
Difficult traffic signs are almost always signs that look very much alike but mean something different. The difference is in one detail: the shape, the colour of an arrow or the symbol on the sign. Below, the signs that are mixed up most often are shown side by side, with the difference in a few sentences.


All difficult traffic signs at a glance
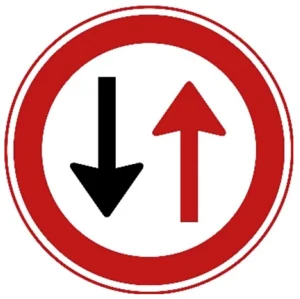
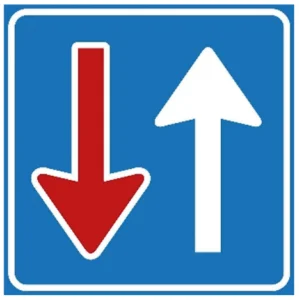
1. Road narrowing: round (F5) or square (F6)
At a narrow passage you see one of these two signs. On the round sign F5 the arrow for your direction is red: you let oncoming traffic go first. On the square sign F6 your arrow is white and the oncoming arrow is red: oncoming traffic must let you go first.
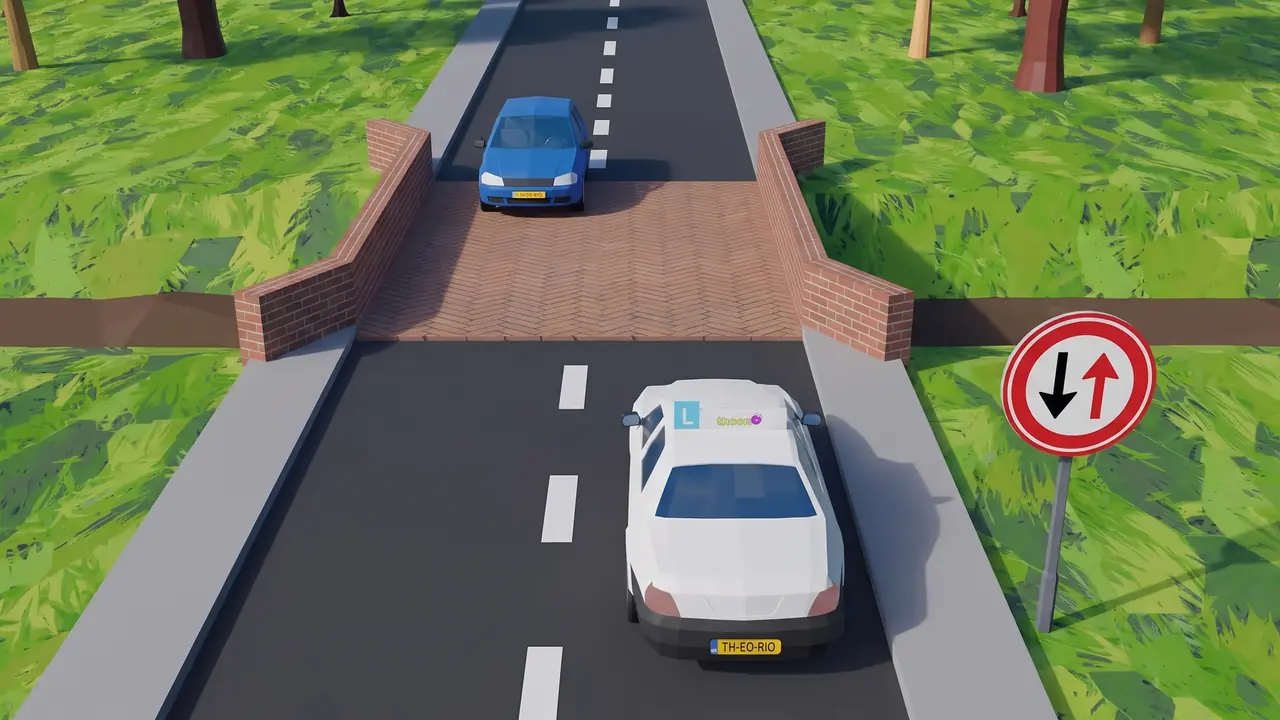
On the road: Sign F5 (round): you wait until the oncoming car has crossed the narrow bridge. 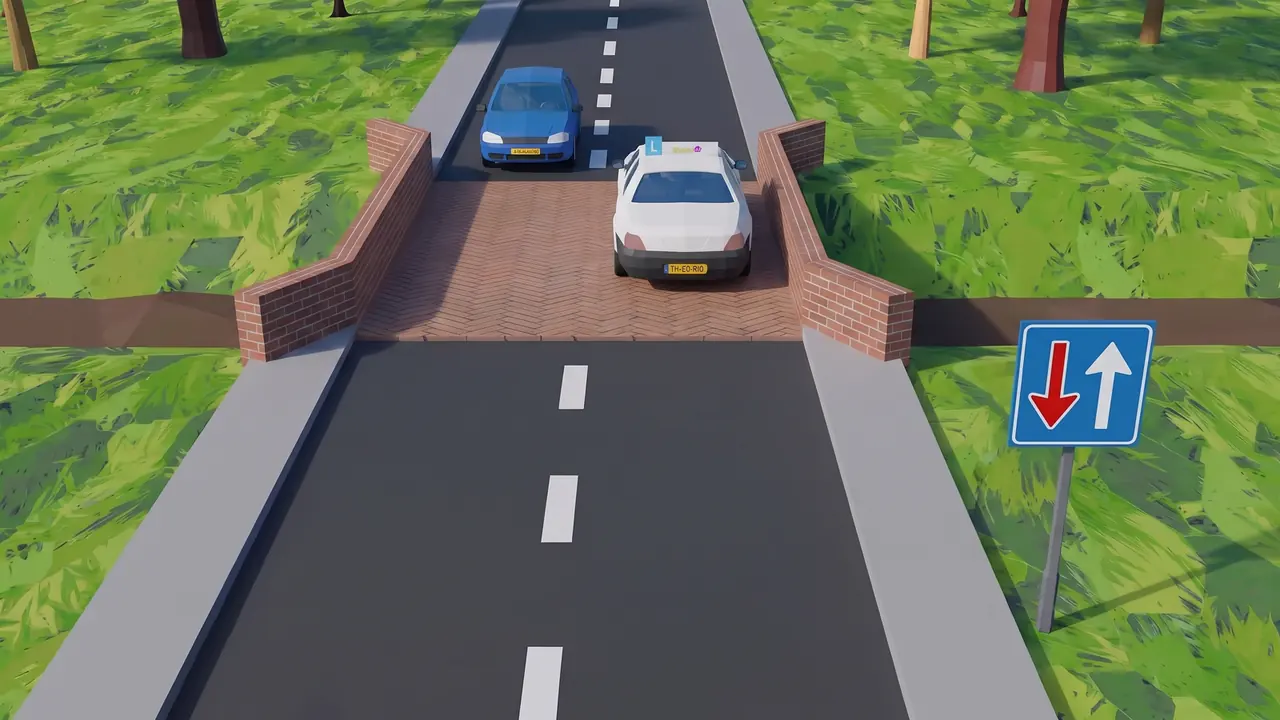
On the road: Sign F6 (square): you drive on, the oncoming car waits before the bridge. Remember: Round with a red border is a prohibition: you wait.
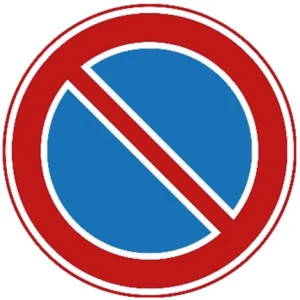
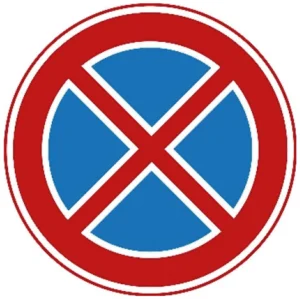
2. No parking (E1) or no stopping (E2)
One red stripe (E1) is a no-parking sign: briefly stopping to let someone get in or out, or to load and unload, is still allowed as long as you are doing it right away. Two red stripes in a cross (E2) is a no-stopping sign: then that is not allowed either.
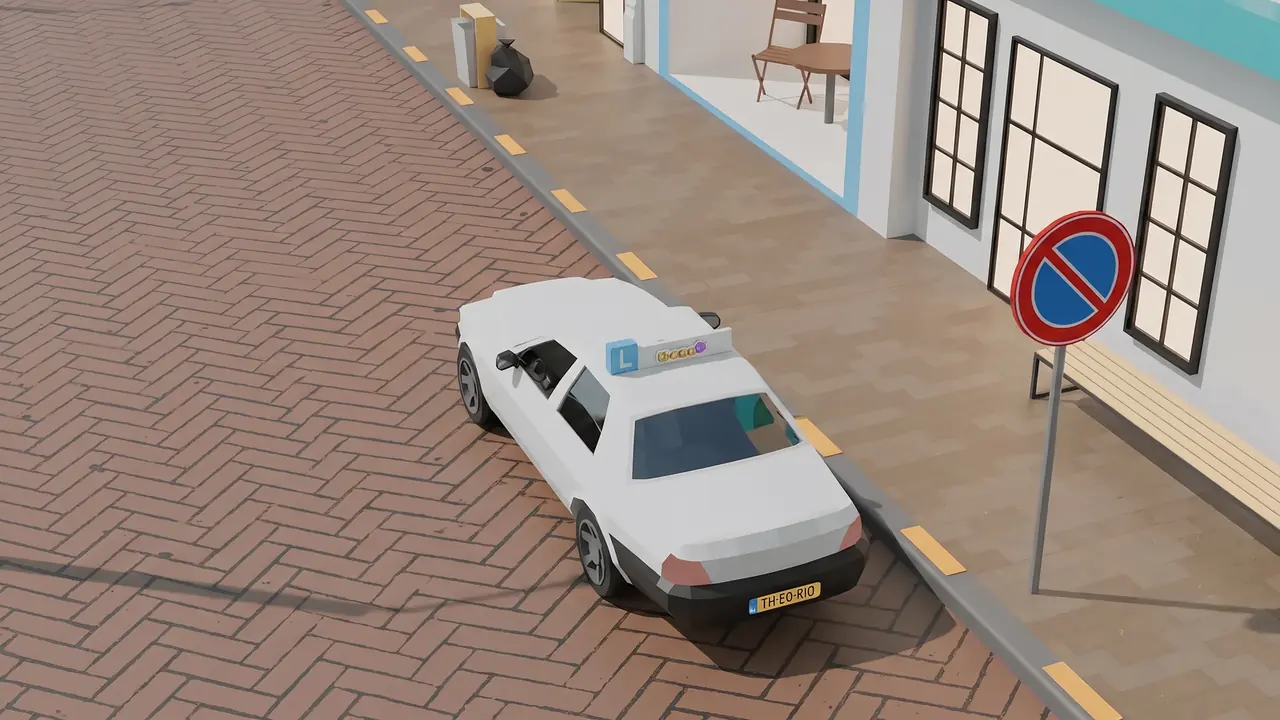
On the road: No parking (E1) and a broken yellow line: no parking, but you may let someone get out. 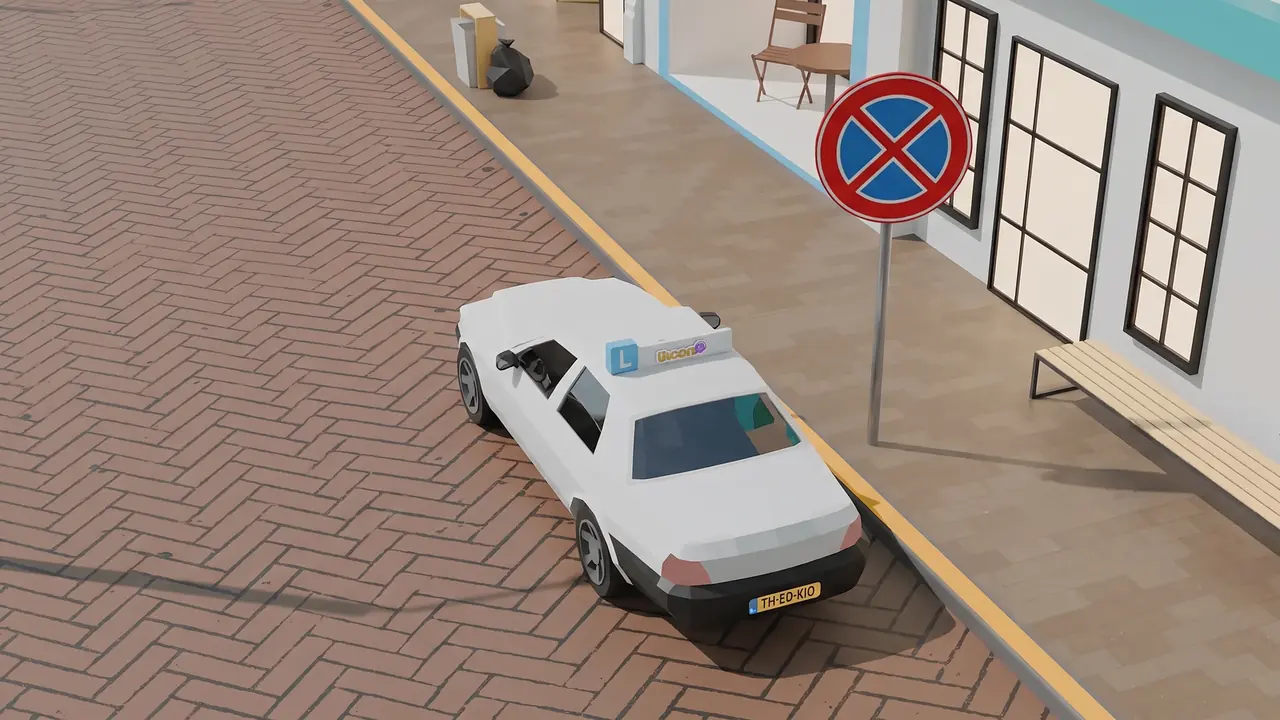
On the road: No stopping (E2) and a continuous yellow line: not even a brief stop. Remember: One stripe: no parking. A cross: no stopping either.
3. Closed in both directions (C1) or no entry (C2)
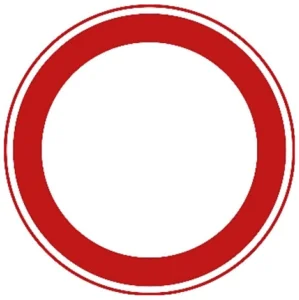
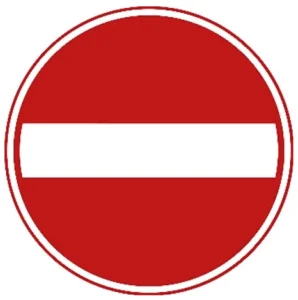
The white round sign with a red border (C1) closes the road in both directions to all vehicles: you may not enter from either end. The red sign with the white bar (C2) only prohibits entering from your side. It is a one-way street, so traffic from the other end may drive in.
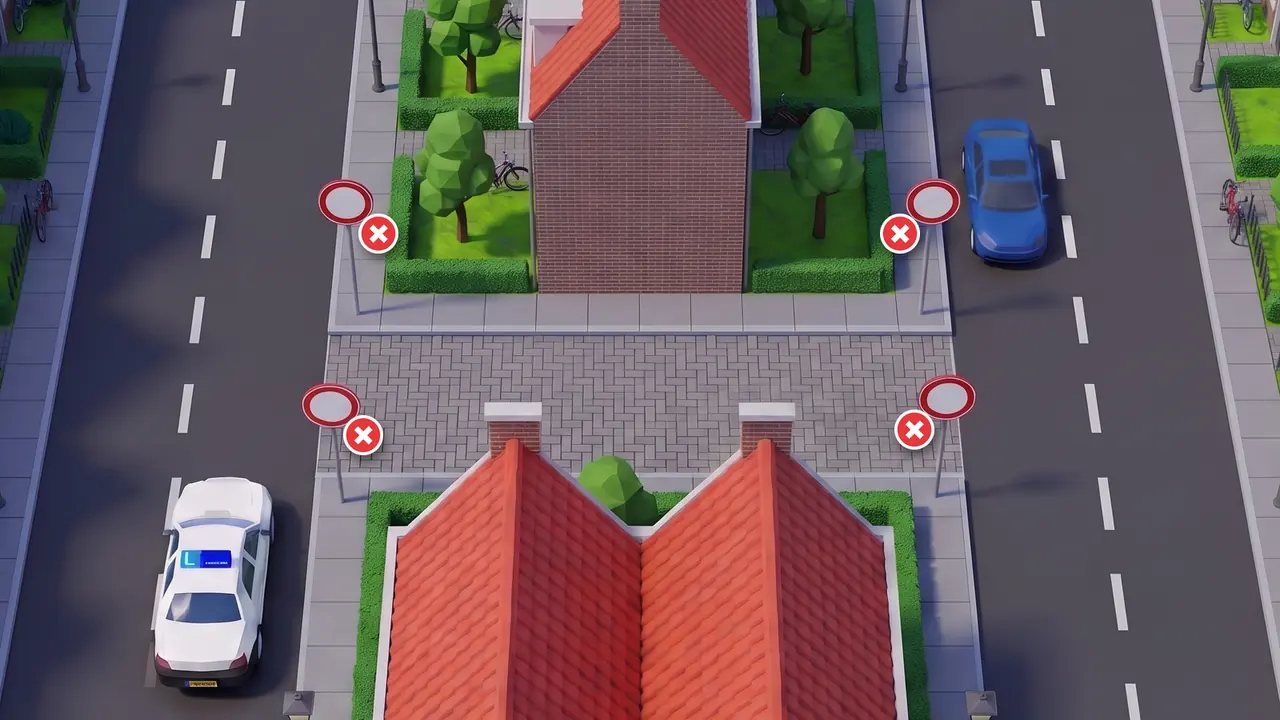
On the road: Sign C1 at both ends: you may not enter the street from either side. 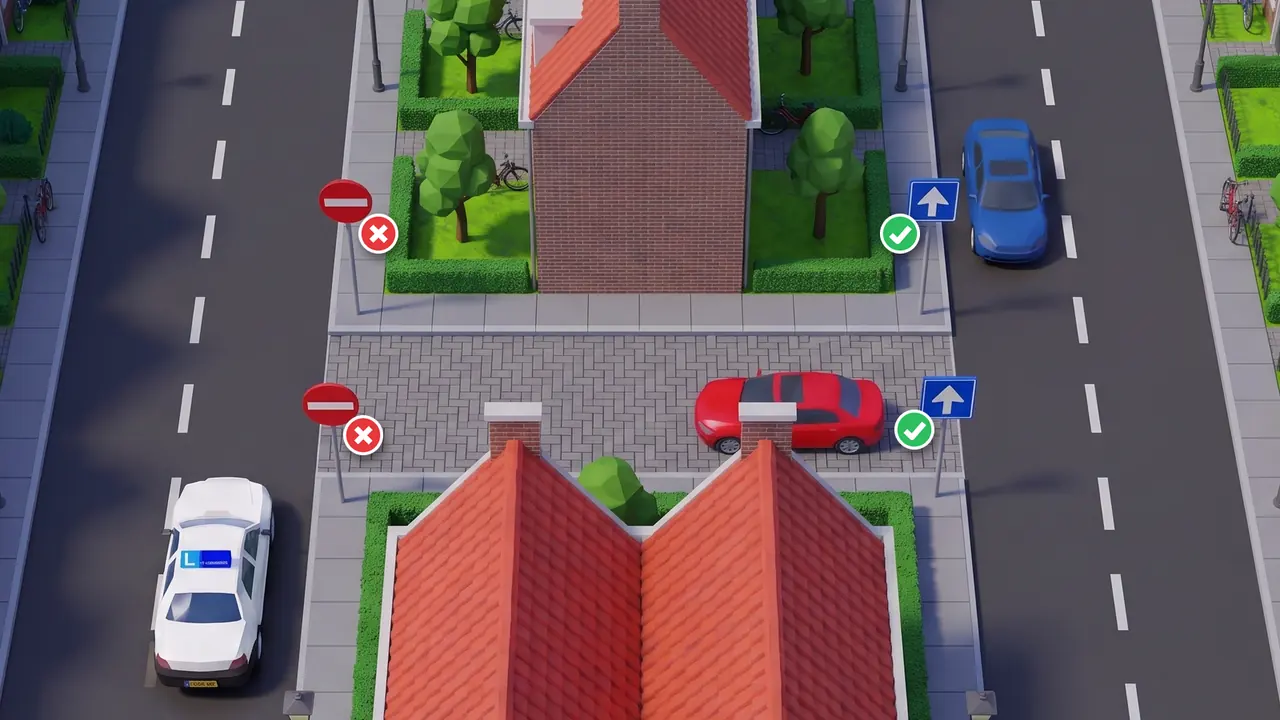
On the road: Sign C2 on your side: you may not enter here. From the other end you may, where sign C3 stands. Remember: White bar on red: only your direction is closed.
4. One-way street (C3) or compulsory direction (D4)
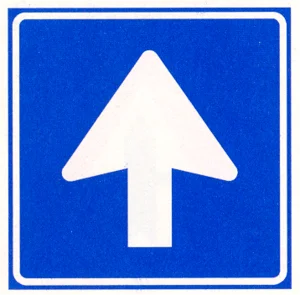
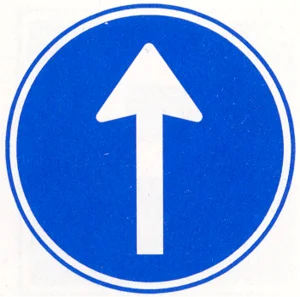
The square blue sign C3 tells you that you are entering a one-way street: there is no oncoming traffic. The round blue sign D4 is an order to follow the arrow. On that road you can still meet oncoming traffic.
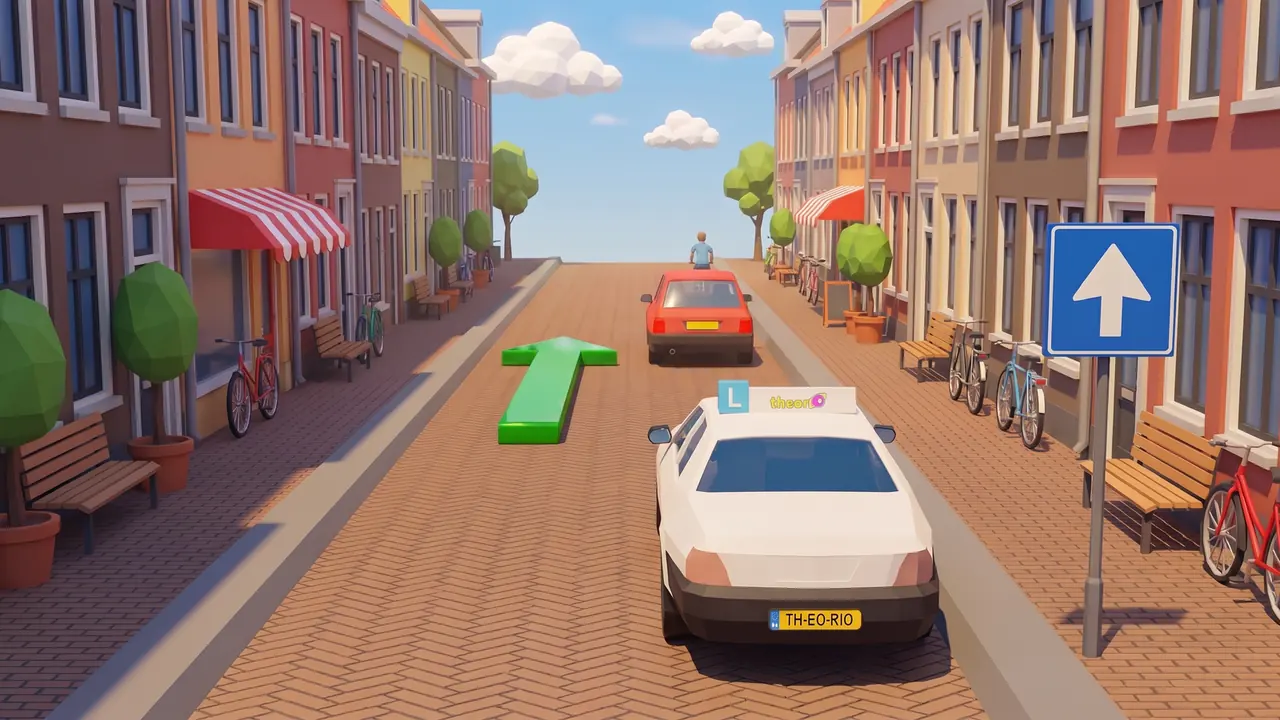
On the road: Sign C3: in this one-way street all traffic drives in the same direction. Remember: Square and blue informs, round and blue is an order.
5. No overtaking for everyone (F1) or only for lorries (F3)
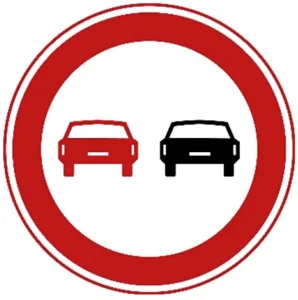
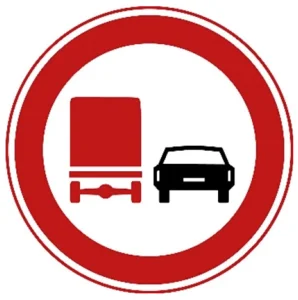
With F1, which shows two cars, no motor vehicle may overtake another motor vehicle, not even a tractor. You may overtake cyclists and moped riders. With F3, which shows a red lorry, the overtaking ban only applies to lorries: in your car you may overtake there. F2 and F4 mark where the ban ends.
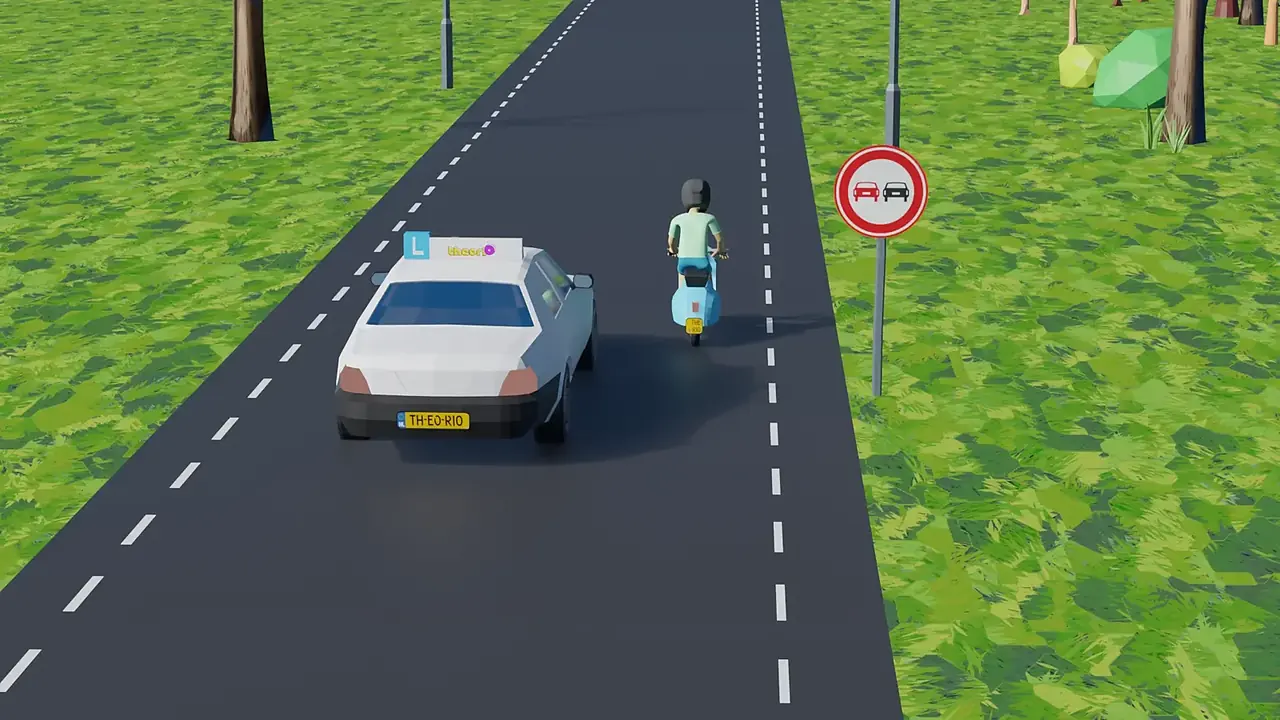
On the road: Sign F1: you may overtake the moped here, but not a car. Remember: If the sign shows a lorry, the ban only applies to lorries.
6. Give way (B6) or stop sign (B7)
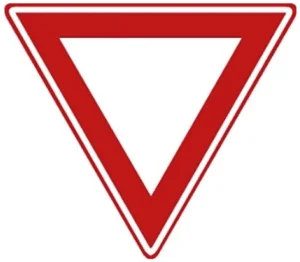
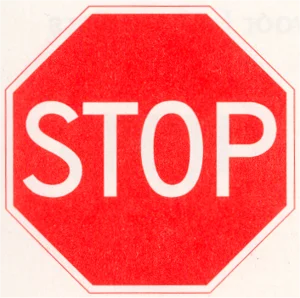
At the upside-down triangle (B6) you give way to drivers on the crossing road, but you may drive on if the road is clear. At the octagonal stop sign (B7) you must always come to a complete stop first, even if nobody is coming. Then you give way and only after that drive on.
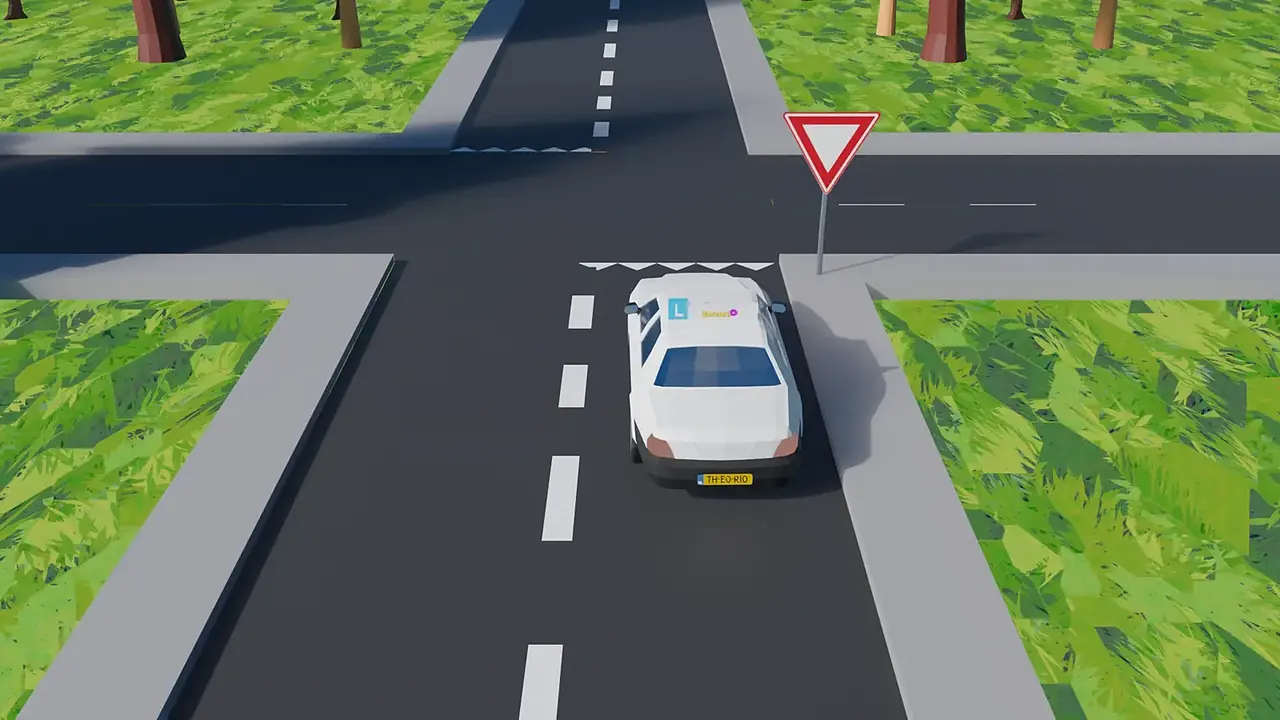
On the road: Sign B6 with shark's teeth: if nobody is coming, you do not have to stop. Remember: B6: stop if needed. B7: always stop.
7. Priority road (B1), priority intersection (B3) or dangerous intersection (J8)
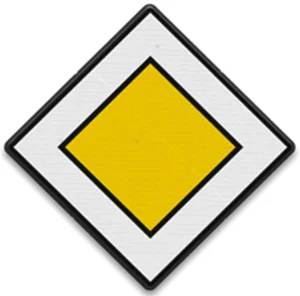
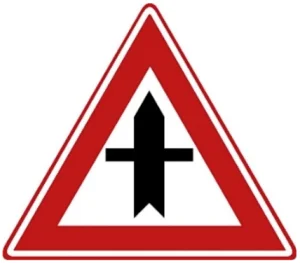
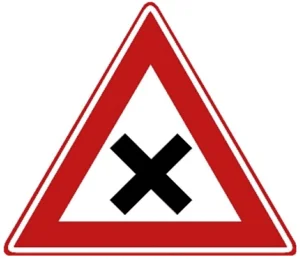
The yellow diamond (B1) means you are on a priority road: you have priority at the junctions that follow, until the end of priority road sign (B2). The triangle with the thick arrow (B3) gives you priority at the next junction only. The triangle with the cross (J8) warns of a dangerous intersection and does not settle priority: without other signs, drivers from the right go first there.
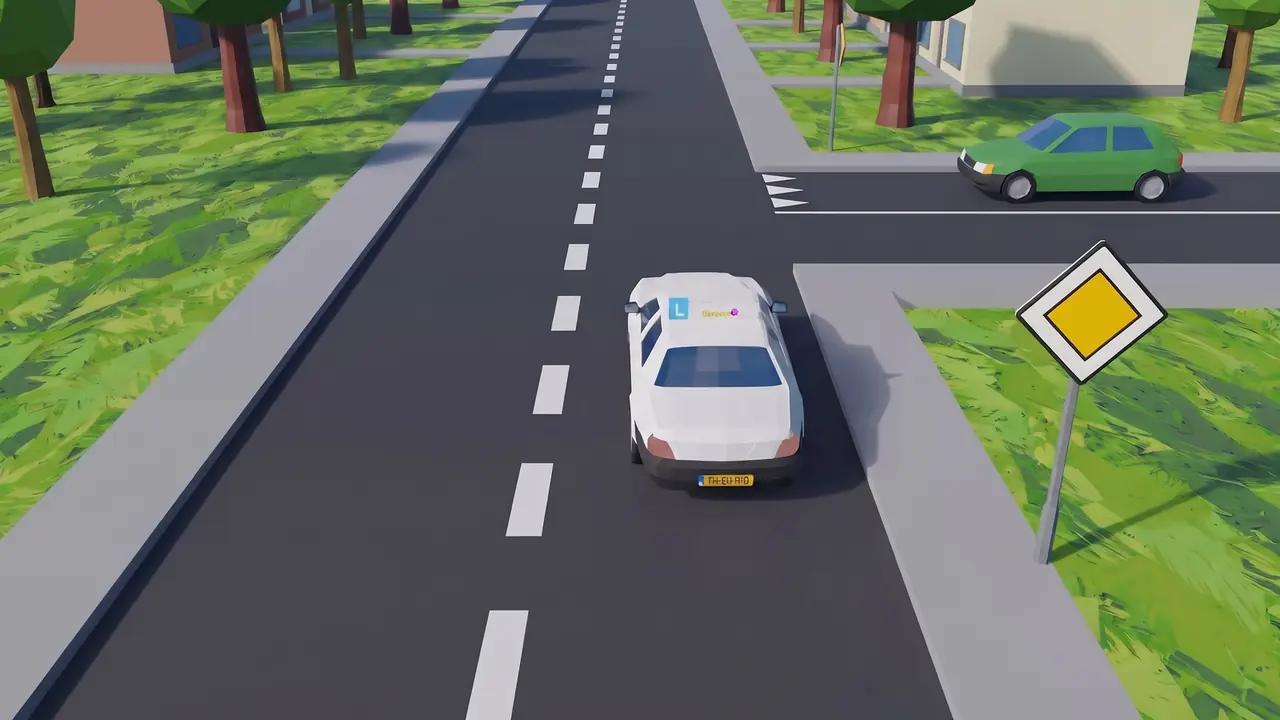
On the road: Sign B1: the learner car is on the priority road, the car from the side road waits. Remember: Thick arrow: you have priority. Cross: watch out, right goes first.
8. Maximum speed (A1) or recommended speed (A4)
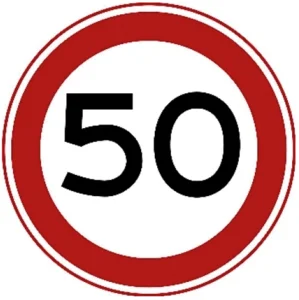
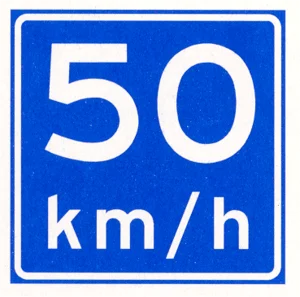
The round sign with a red border (A1) gives the maximum speed: driving faster is prohibited. The blue square sign (A4) gives a recommended speed. That speed is not compulsory, but it is sensible, for example in a sharp bend or on an exit.
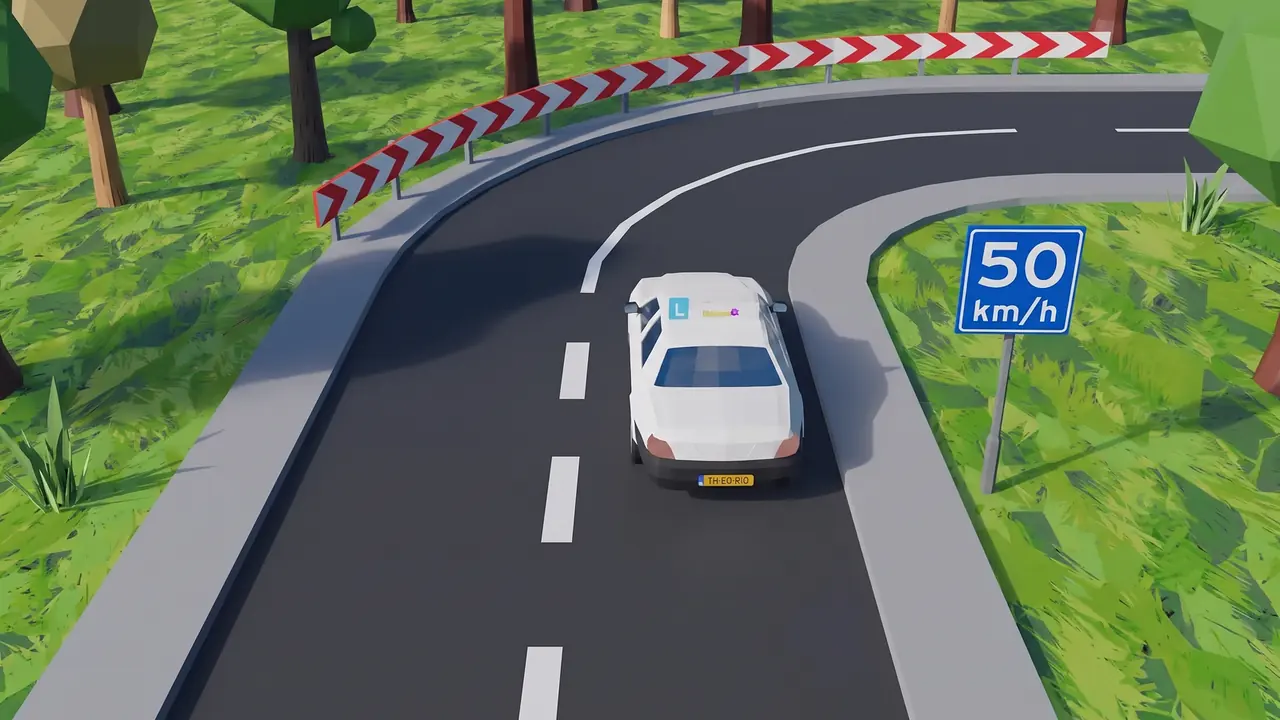
On the road: Sign A4 before the bend: 50 km/h is advice here, not an obligation. Remember: Round with red is a prohibition, blue and square is advice.
9. Roundabout: mandatory sign (D1) or warning sign (J9)
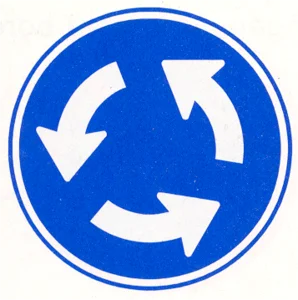
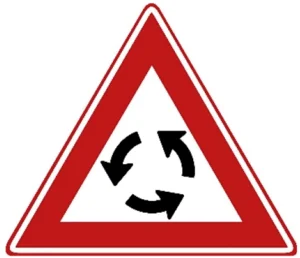
The round blue sign (D1) stands at the roundabout itself and orders you to follow the direction of the arrows. The triangular sign (J9) stands some distance before the roundabout and only warns that a roundabout is coming up.
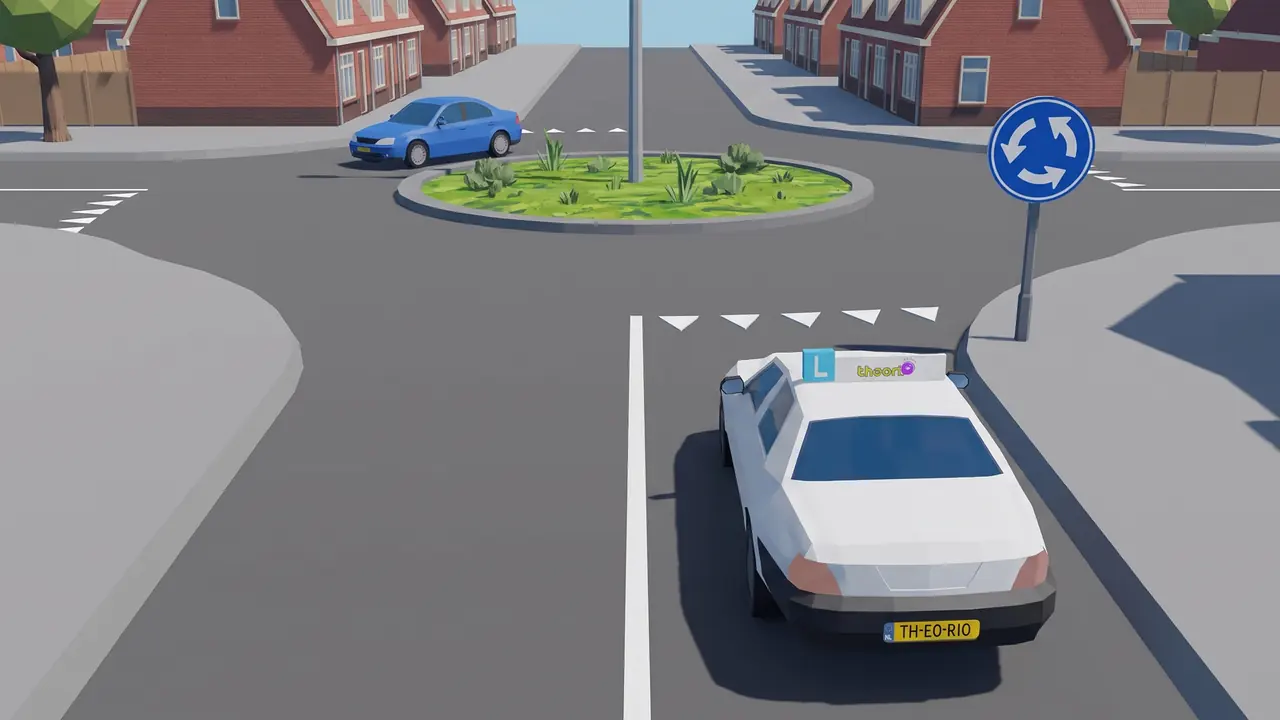
On the road: Sign D1 at the roundabout: you follow the direction of the arrows. Remember: Triangle: the roundabout is coming. Round and blue: you are there.
10. Pass on the indicated side (D2) or pass on either side (D3)
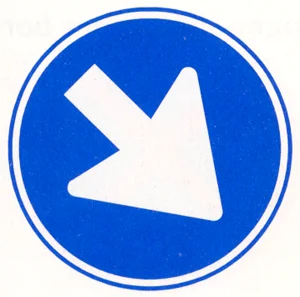
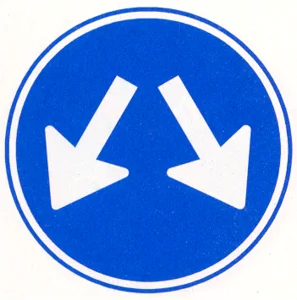
At the round blue sign with one diagonal arrow (D2) you must pass the sign on the side the arrow points to. At the sign with two arrows (D3) you may choose: you may pass it on the left or on the right.
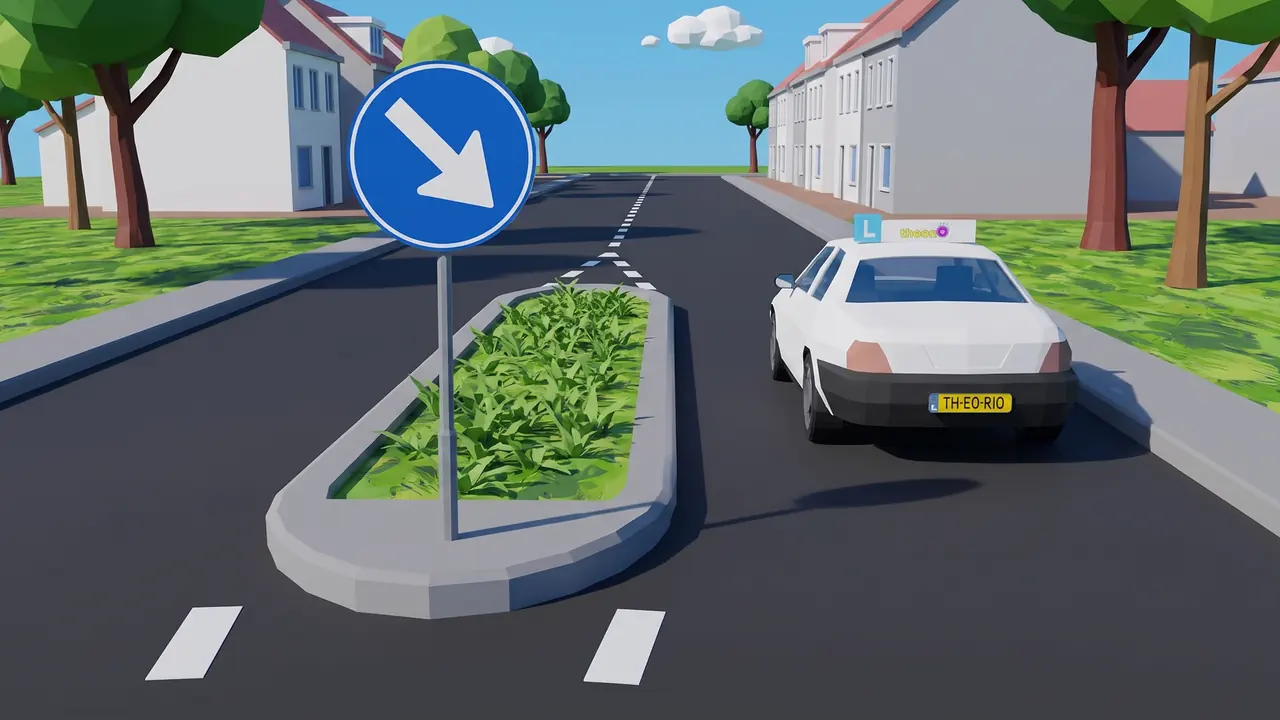
On the road: Sign D2 on the traffic island: you pass it on the right. Remember: One arrow is an order, two arrows are a choice.
11. No cars (C6) or no motor vehicles (C12)
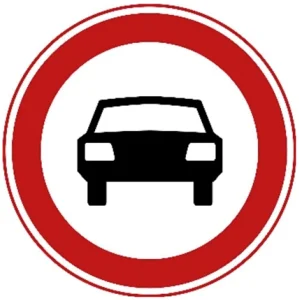
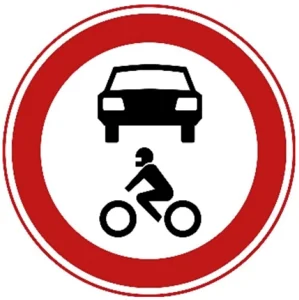
Sign C6 shows only a car: the road is closed to motor vehicles with more than two wheels. On a two-wheeled motorcycle you may therefore still enter. Sign C12 shows a car and a motorcycle: the road is closed to all motor vehicles, including motorcycles. By law a moped is not a motor vehicle, so moped riders and cyclists may ride on at both signs.
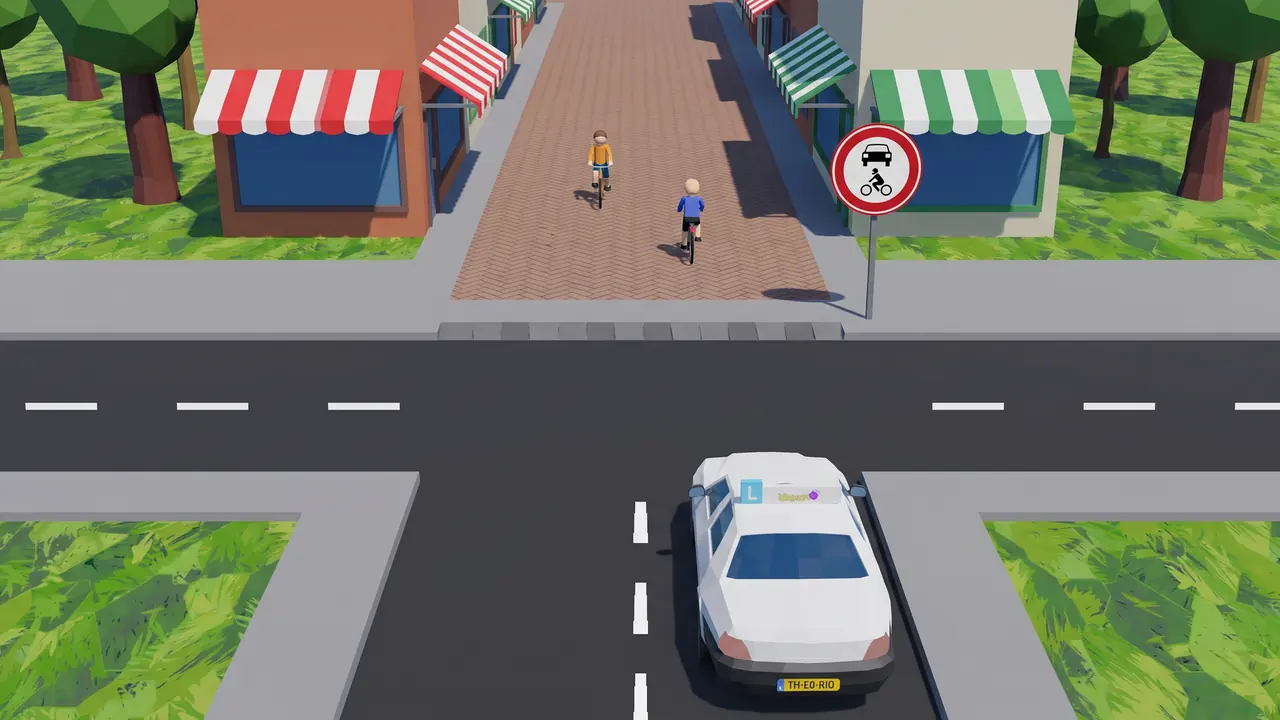
On the road: Sign C12 at the shopping street: cars and motorcycles may not enter, cyclists may. Remember: If the motorcycle is on the sign too, the motorcycle may not enter either.
12. Mandatory cycle path (G11), cycle/moped path (G12a) or optional cycle path (G13)
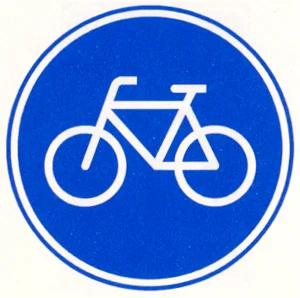
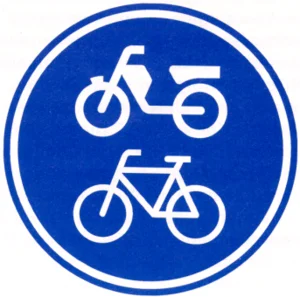
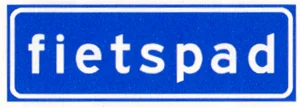
The round blue sign with a bicycle (G11) is a mandatory cycle path for cyclists and light-moped (snorfiets) riders. Moped riders may not ride there: they use the cycle/moped path (G12a), the sign with a moped and a bicycle. The rectangular sign with the word fietspad (G13) is an optional cycle path: cyclists may use it, but may also stay on the carriageway. Moped riders may not use it, and light mopeds with a combustion engine only with the engine switched off.
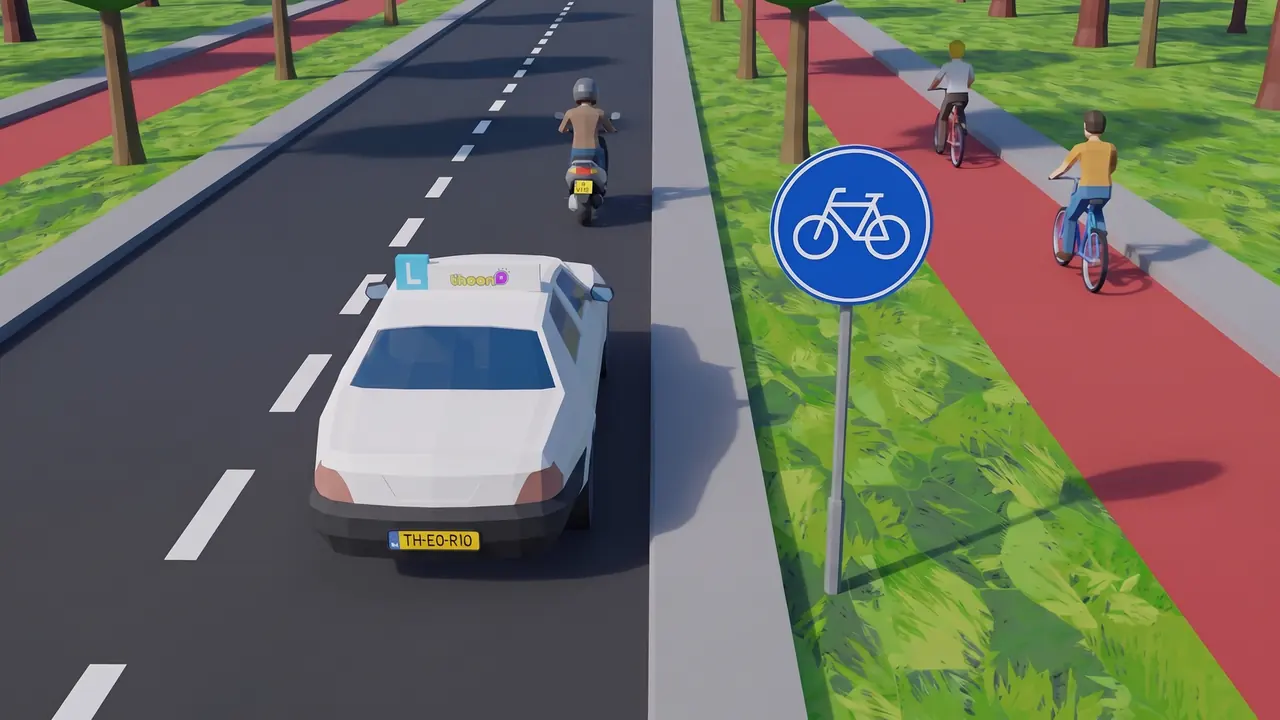
On the road: Sign G11: cyclists use the mandatory cycle path, the moped rides on the carriageway. Remember: Is the moped not on the sign? Then the moped rides on the carriageway.
13. Motorway (G1) or autoweg (G3)
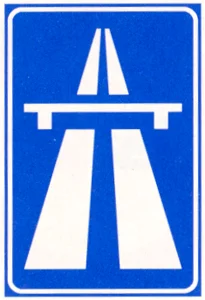
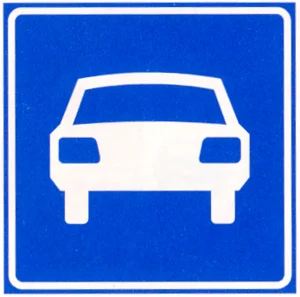
Sign G1, with two carriageways under a viaduct, marks the start of a motorway: you may drive 130 km/h at most, unless a sign shows a lower speed. Sign G3, with a car, marks an autoweg (expressway): the maximum speed there is 100 km/h. On an autoweg you can meet oncoming traffic, junctions and traffic lights. You may only use the motorway with a motor vehicle that can and may drive faster than 60 km/h; on the autoweg that is faster than 50 km/h.
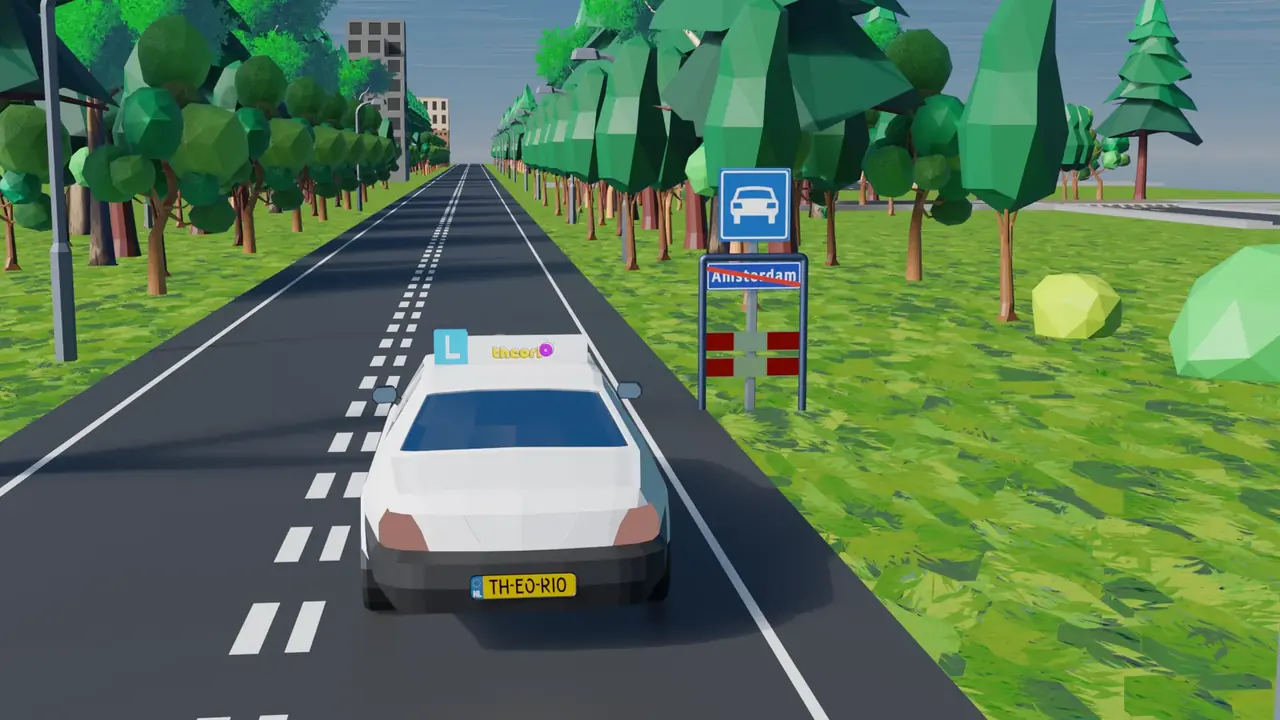
On the road: Sign G3: an autoweg starts here. Remember: Viaduct on the sign: motorway, 130. Car on the sign: autoweg, 100.
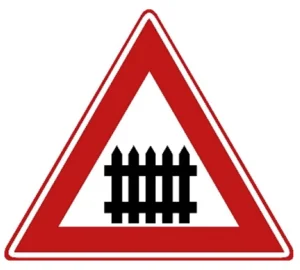
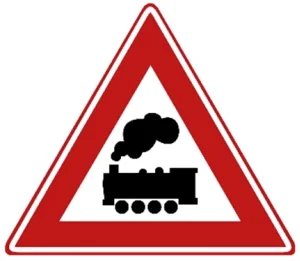
14. Level crossing with barriers (J10) or without barriers (J11)
If the triangle shows a fence (J10), you are approaching a level crossing with barriers. If the triangle shows a steam train (J11), the level crossing has no barriers. You then have to look and listen extra carefully yourself for an approaching train.
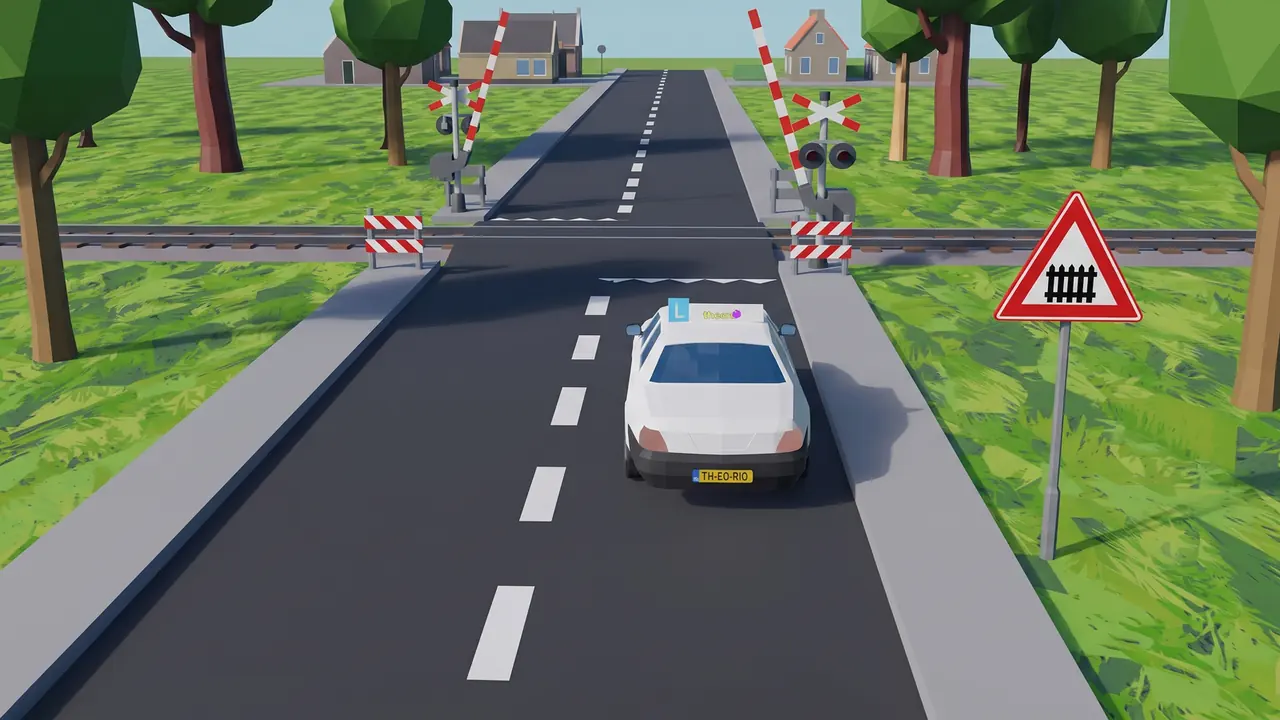
On the road: Sign J10: you are approaching a level crossing with barriers. Remember: Fence: barriers. Train: no barriers.
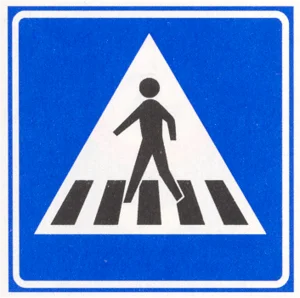
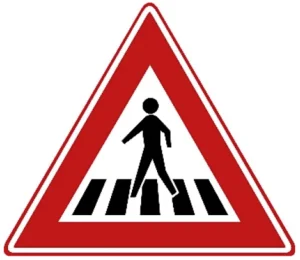
15. Pedestrian crossing: information sign (L2) or warning sign (J22)
The blue square sign (L2) stands at the pedestrian crossing itself: you let pedestrians go first who are crossing or clearly about to cross. The triangular sign (J22) stands some distance before it and warns that a pedestrian crossing is coming up, so you can slow down in time.
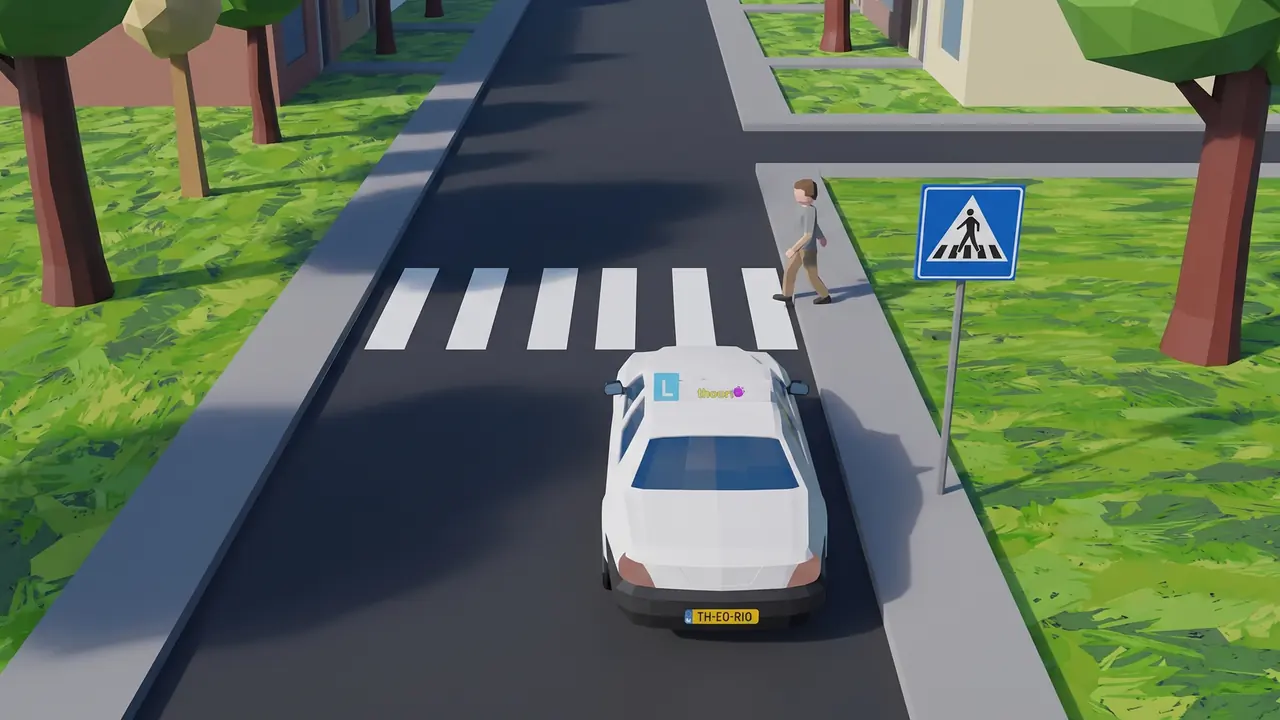
On the road: Sign L2 at the pedestrian crossing: the pedestrian wants to cross, so you stop. Remember: Triangle: the crossing is coming. Blue square: this is it.
16. Length, width, height or weight (C17 to C21)
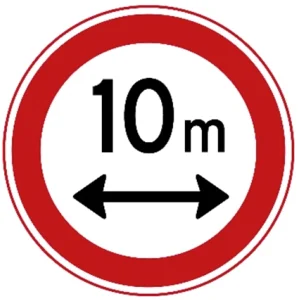 C17 Maximum length
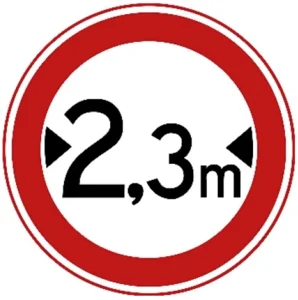 C18 Maximum width
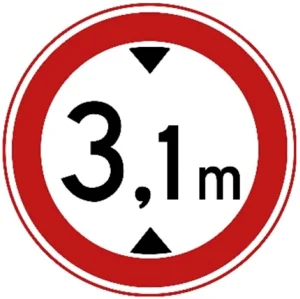 C19 Maximum height
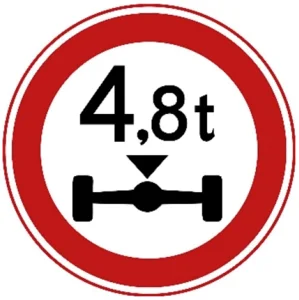 C20 Maximum axle load
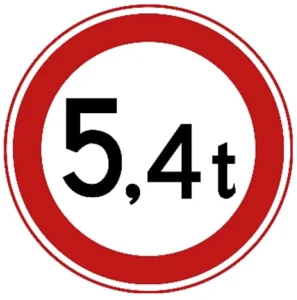 C21 Maximum total mass
These five round signs with a red border look alike, but the arrows and the symbol tell you which measurement is meant. C17 is the maximum length (a horizontal arrow below the number), C18 the maximum width (arrows left and right) and C19 the maximum height (arrows above and below). C20 is the maximum axle load, with an axle below the number, and C21 the maximum total mass of your vehicle or combination. For length, width and height the load counts as well.
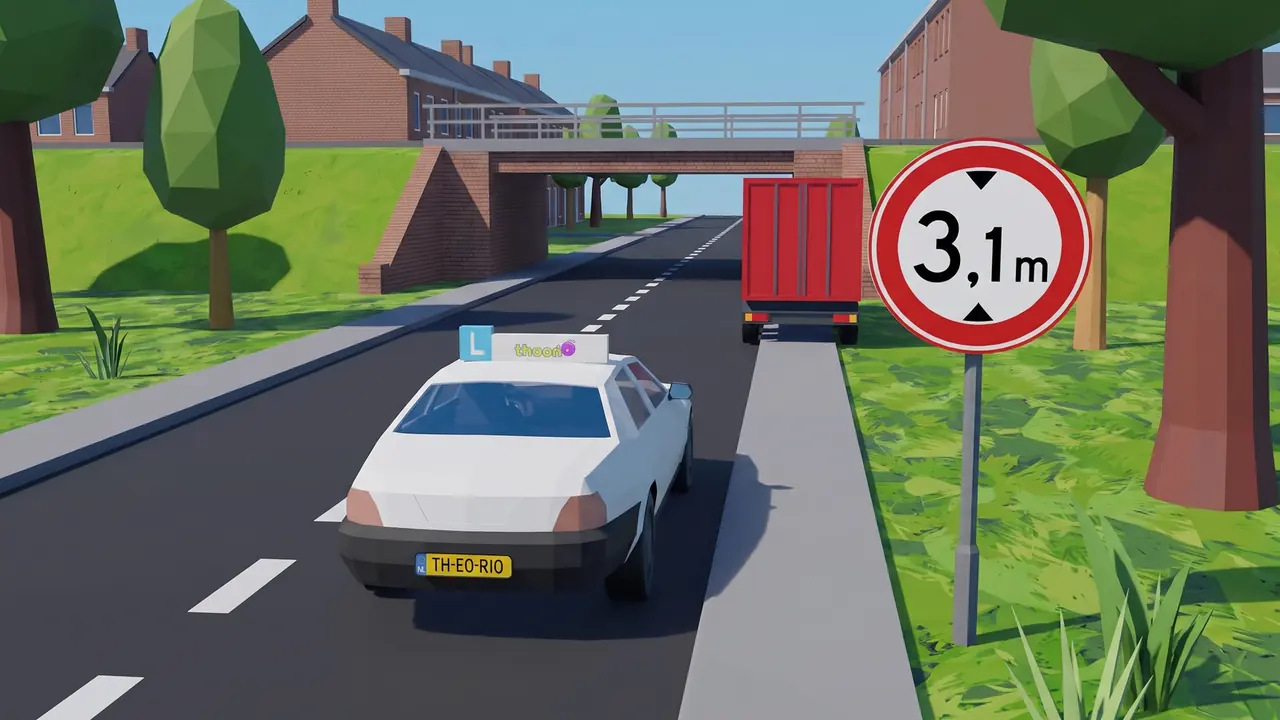
On the road: Sign C19 before the viaduct: vehicles higher than 3.1 metres may not continue. Remember: The arrows point out the measurement: sideways is width, up and down is height.



















Practise the difficult traffic signs
You remember the difference between two signs best by seeing them in exam questions. Practise the traffic signs for free, or look up a sign in the overview of all 171 traffic signs.